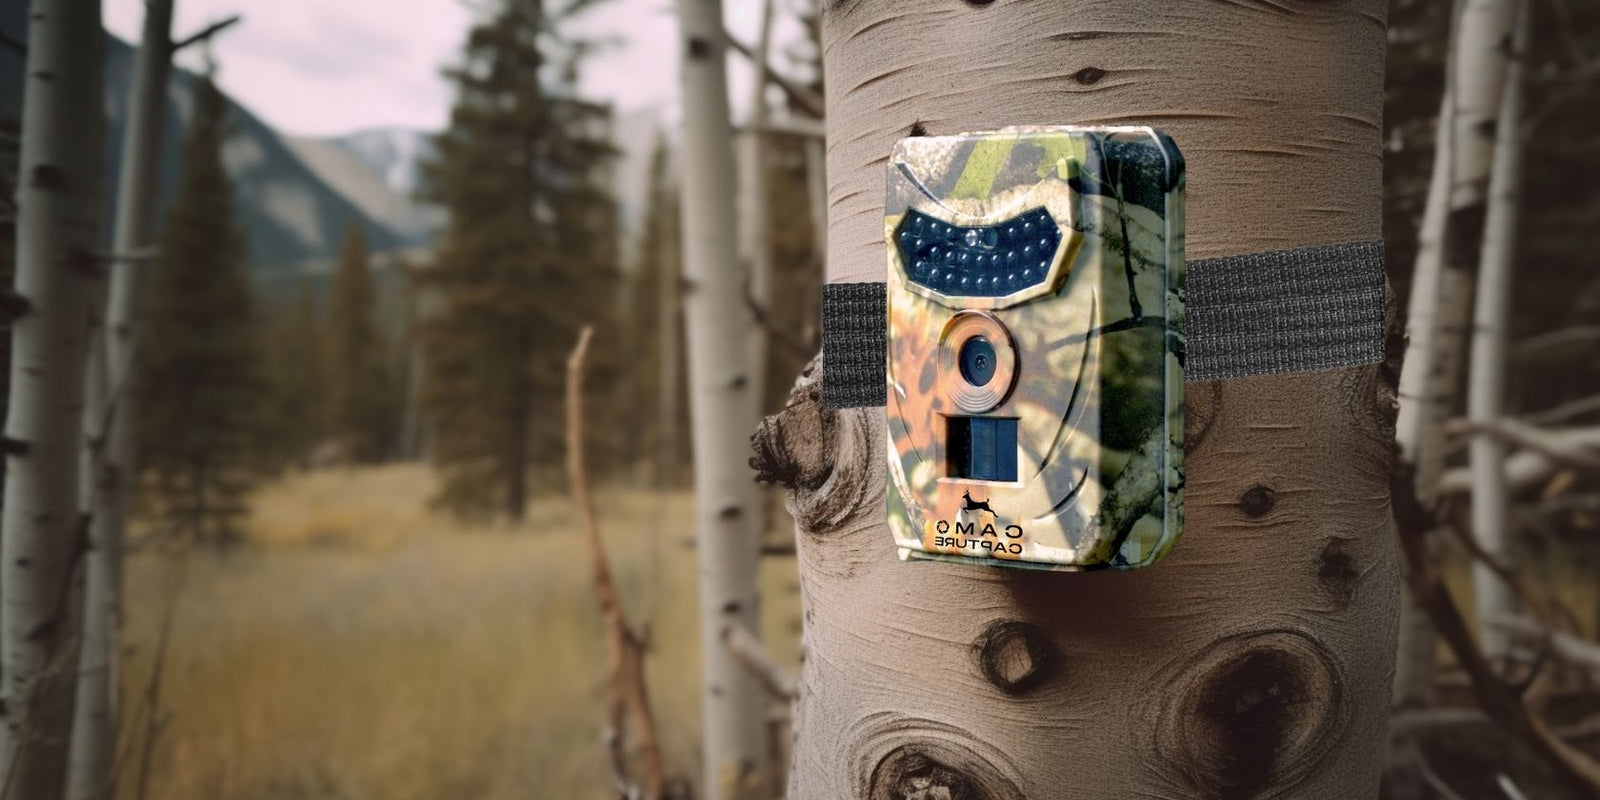
Installing a trail camera, like our CamoCapture WildShot™ , may seem daunting, but it's actually quite simple. Follow our step-by-step guide to easily install your trail camera and start capturing amazing wildlife moments.
Step 1: Preparation
Before heading out into the field, prepare your WildShot™ camera by inserting 8 AA batteries (not included) and a microSD card (up to 32 GB, not included). Test the camera at home to make sure it works properly.
Step 2: Choose location
Find a strategic place where the animals are likely to pass, such as a waterhole, a path or a feeding area. Avoid areas exposed to too much wind or rain to protect your camera.
Step 3: Attach the camera to a tree
Use the supplied mounting strap to attach the WildShot ™ camera to a strong, stable tree trunk. Adjust the strap so that the camera is secure and aimed at the area you want to monitor.
Step 4: Adjust the viewing angle
Adjust the camera's viewing angle to cover a wide area with its 120° angle. Point the camera slightly downward to avoid sun glare and get better images.
Step 5: Configure Settings
Adjust camera settings, such as photo and video resolution, motion detection sensitivity, and shooting mode (photo, video, or mixed). Consult the WildShot™ user manual for more information on the available settings.
Step 6: Test motion detection
Before leaving the premises, make sure motion detection is working properly by walking past the camera. The WildShot™ has a trigger speed of 0.8 seconds and a detection range of up to 15 meters.
Step 7: Be patient
Leave the camera in place for days or even weeks to capture magical wildlife moments. Remember to regularly check the battery and memory card capacity.
By following these steps, you will be able to easily install your trail camera. We wish you a pleasant time in nature!

